LAMP is short for Linux, Apache, MySQL, PHP. This tutorial shows how you can install an Apache2 Web Server on an Ubuntu Server with PHP5 and MySQL support.
I. Note before installation
In this tutorial, I run the installation on a virtual machine. I used Windows 7 as Host OS (Figure 1.1), Ubuntu Server 11.04 (Figure 1.2) that runs on VMWare virtualization software as the Server PC (Guest OS), and Windows XP (Figure 1.3) that runs on Windows Virtual PC as the Client PC (Guest OS).
Although I install LAMP on a virtual machine in this documentation, this is just a representation or virtualization of the actual installation on the real Ubuntu Server machine.
Also, in this tutorial I use with the IP address 192.168.110.128 of the Server PC (Ubuntu Server 11.04). These settings might differ for you, so you have to replace them where appropriate.
This installation was also tested on Ubuntu Server 12.04 and later.

Figure 1.1: Windows 7 as Host OS
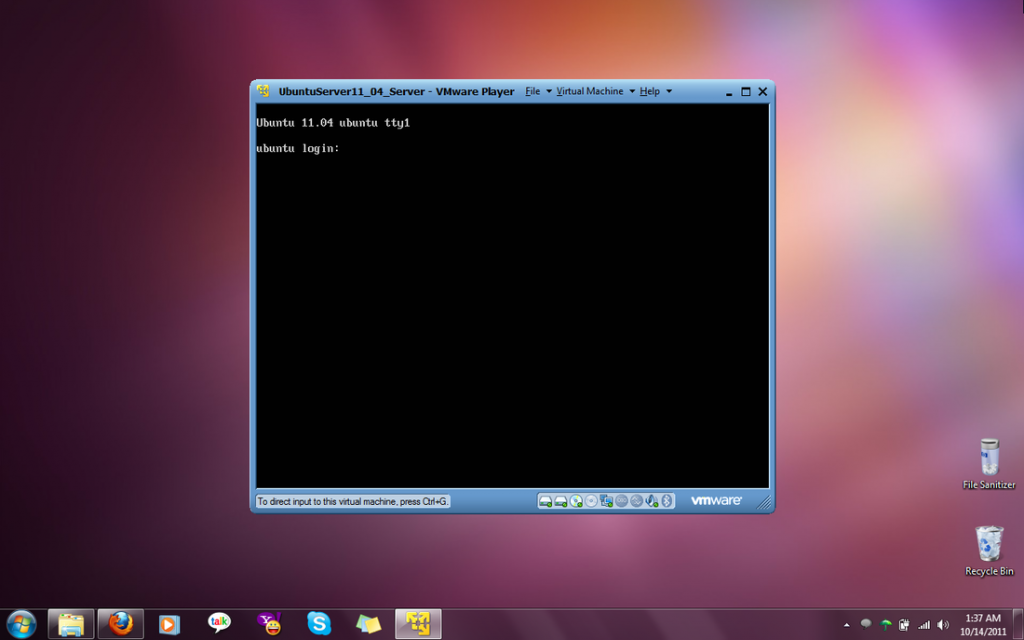
Figure 1.2: Ubuntu Server 11.04 as Server PC (Guest OS)
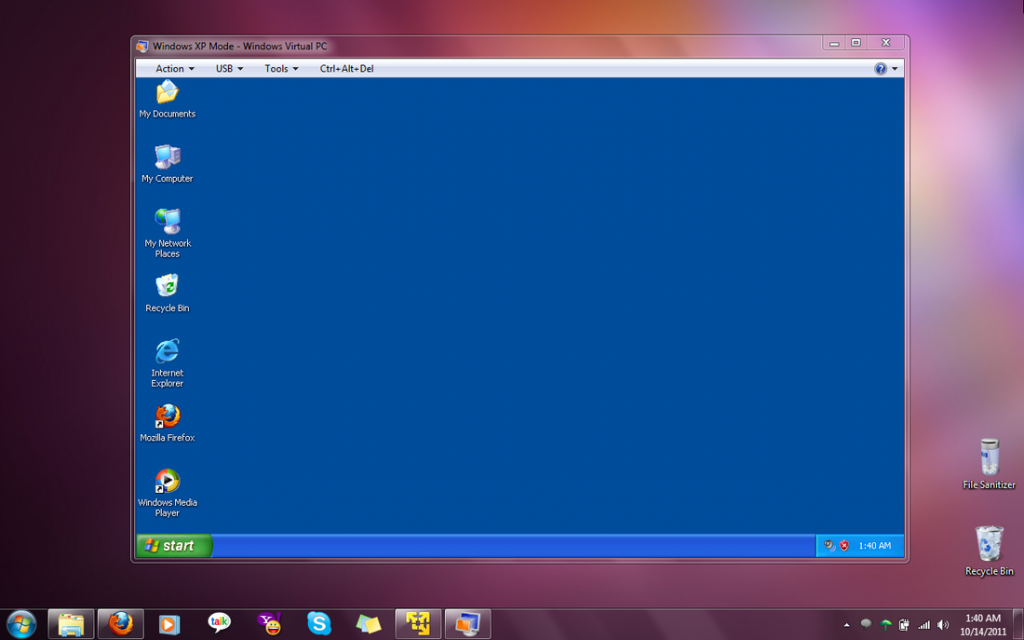
Figure 1.3: Windows XP as Client PC (Guest OS)
I’m running all the steps in this tutorial with root privileges, so make sure you’re logged in as root:
sudo su
II. Installing MySQL 5
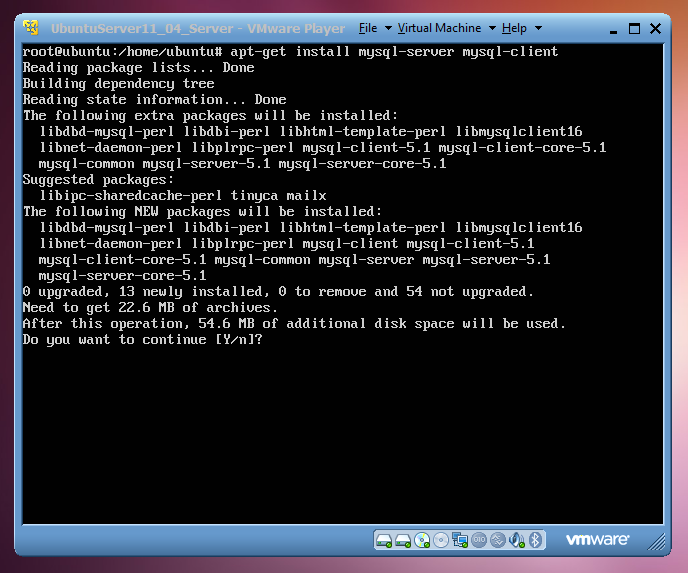
First we install MySQL 5 like this:
apt-get install mysql-server mysql-client
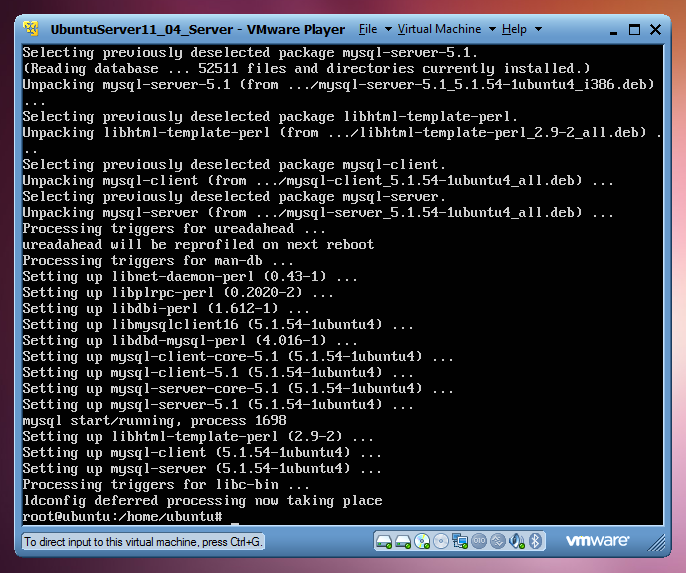
Then confirm the MySQL 5 installation:
You will be asked to provide a password for the MySQL root user – this password is valid for the user root@localhost as well as root@server.example.com, so we don’t have to specify a MySQL root password manually later on:
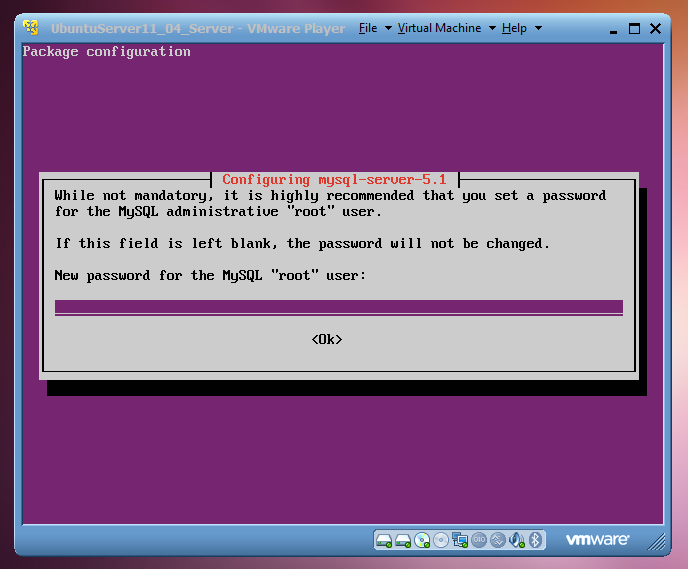
New password for the MySQL “root” user: <– yourrootsqlpassword
Repeat password for the MySQL “root” user: <– yourrootsqlpassword
MySQL 5 successful installation will show:
III. Installing Apache2
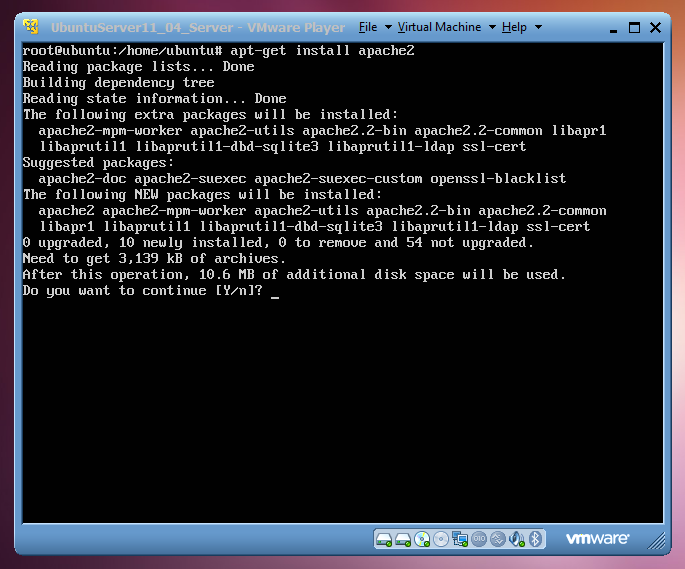
Apache2 is available as an Ubuntu package, therefore we can install it like this:
apt-get install apache2
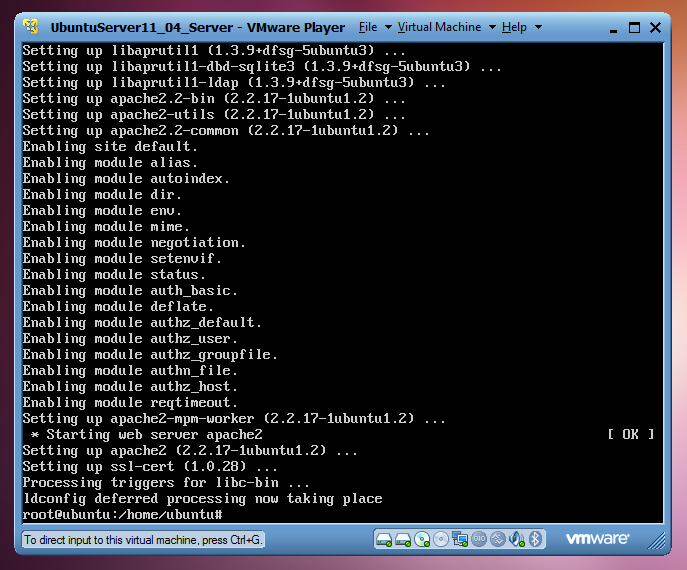
Then confirm the Apache2 installation:
Apache2 successful installation will show:
After the installation of Apache2, direct your browser to e.g http://192.168.110.128, and you should see the Apache2 placeholder page (It works!): I tested on Guest OS (Windows XP) and Host OS (Windows 7).
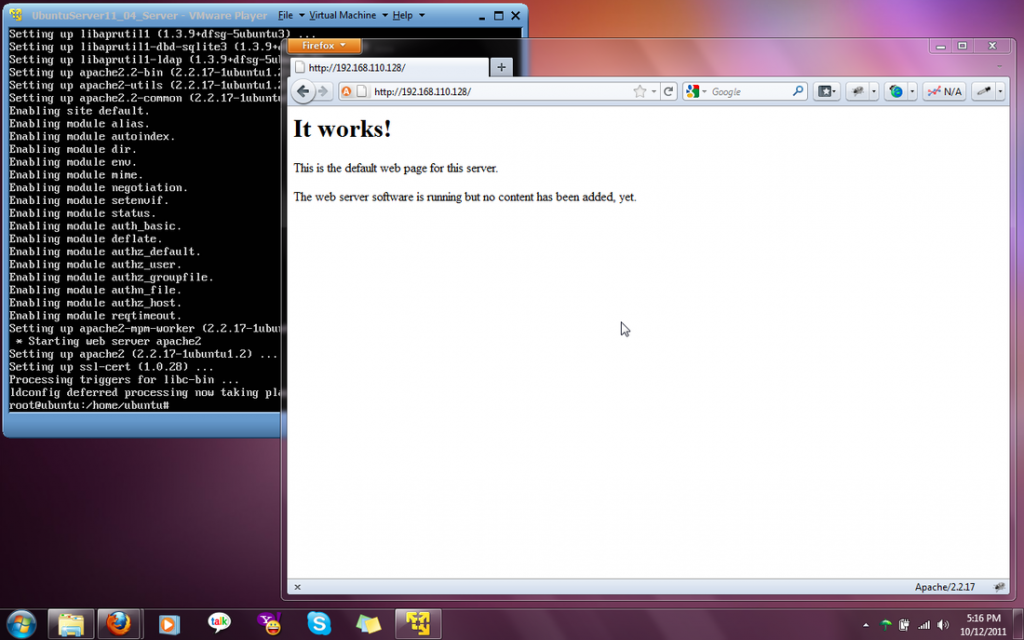
Client PC: Windows XP (Guest OS)
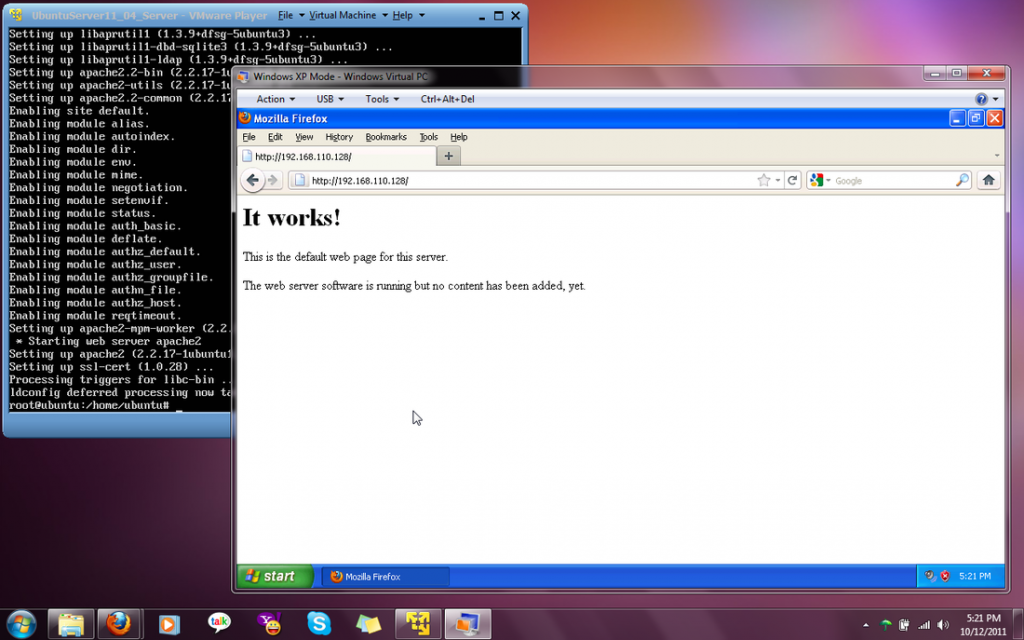
Client PC: Windows 7 (Host OS)
Apache’s default document root is /var/www on Ubuntu, and the configuration file is /etc/apache2/apache2.conf. Additional configurations are stored in subdirectories of the /etc/apache2 directory such as /etc/apache2/mods-enabled (for Apache modules), /etc/apache2/sites-enabled (for virtual hosts), and /etc/apache2/conf.d.
IV. Installing PHP5
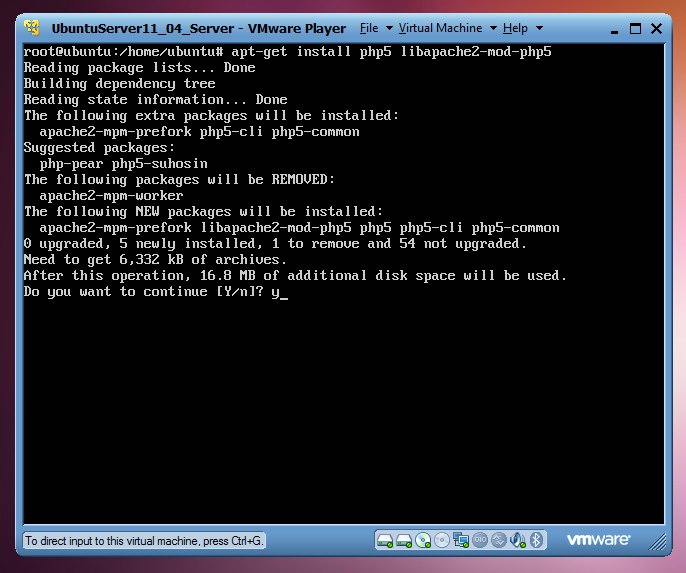
We can install PHP5 and the Apache PHP5 module as follows:
apt-get install php5 libapache2-mod-php5
Then confirm the PHP5 installation:
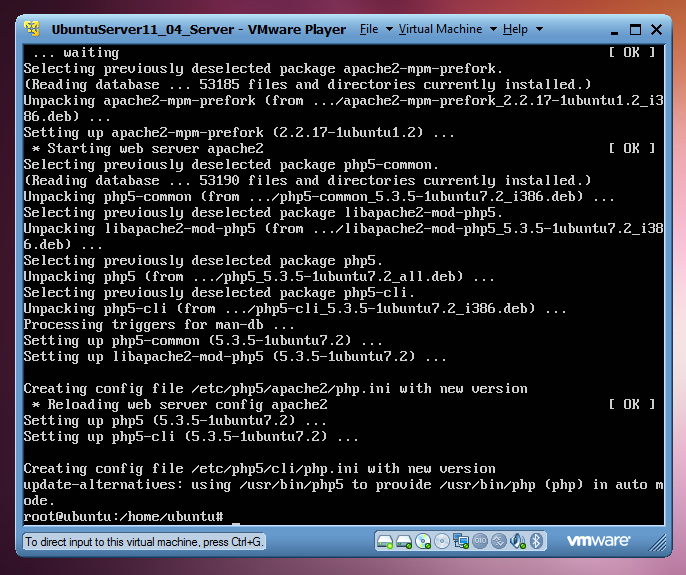
PHP5 successful installation will show:
We must restart Apache afterwards:
service apache2 restart
V. Testing PHP5 / Getting Details About Your PHP5 Installation
The document root of the default web site is /var/www. We will now create a small PHP file (info.php) in that directory and call it in a browser. The file will display lots of useful details about our PHP installation, such as the installed PHP version.
Create the file:
vi /var/www/info.php
Contents of info.php should look like this:
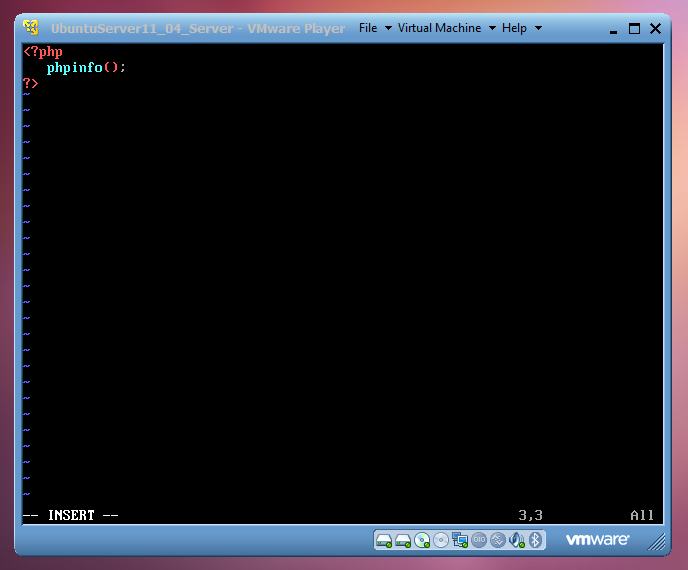
Then save the file. (Press ESC then type :wq ) – :wq means Save and Quit in vi editor.
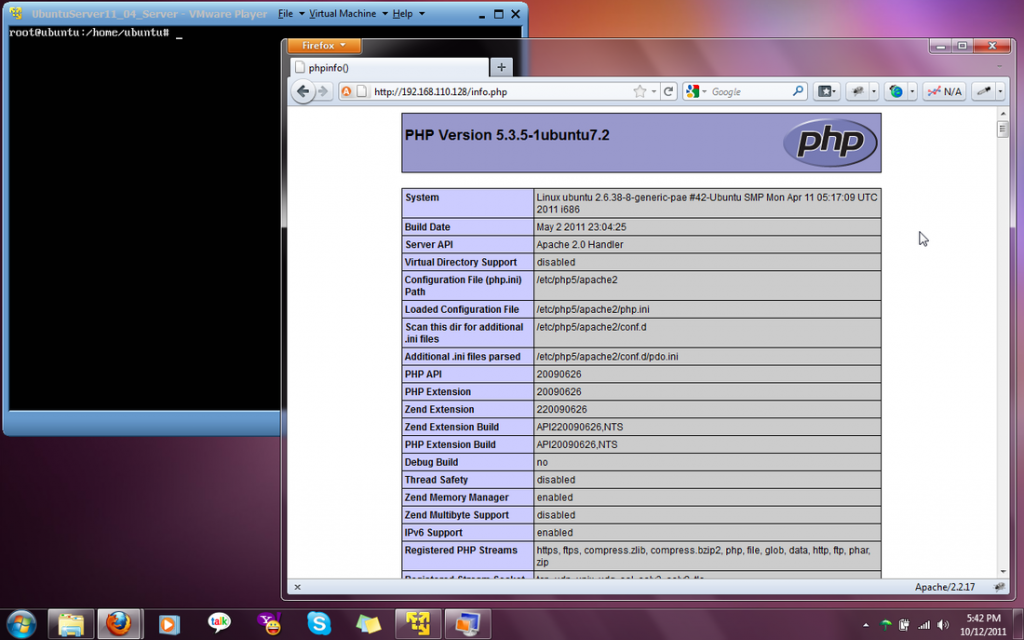
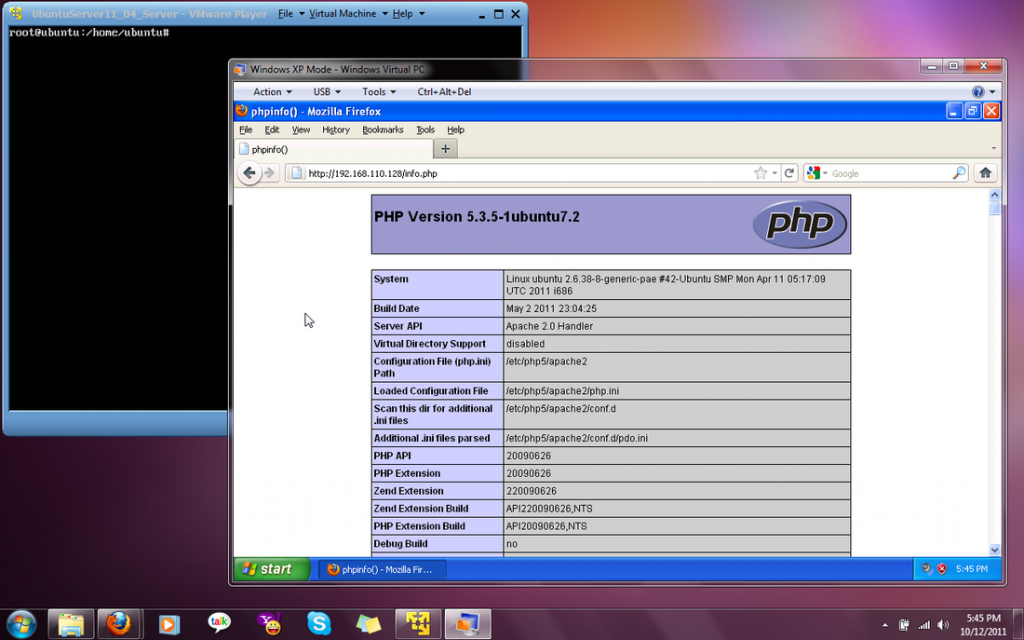
Now we call that file in a browser (e.g. http://192.168.110.128/info.php): I tested on Guest OS (Windows XP) and Host OS (Windows 7).
Client PC: Windows XP (Guest OS)
Client PC: Windows 7 (Host OS)
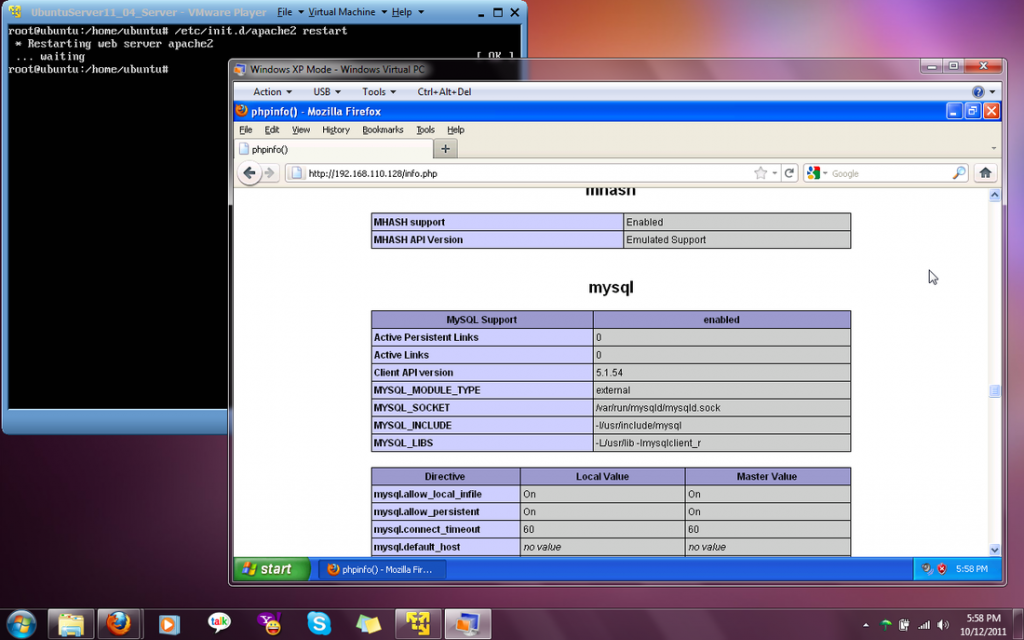
As you see, PHP5 is working, and it’s working through the Apache 2.0 Handler, as shown in the Server API line. If you scroll further down, you will see all modules that are already enabled in PHP5. MySQL is not listed there which means we don’t have MySQL support in PHP5 yet.
VI. Getting MySQL Support In PHP5
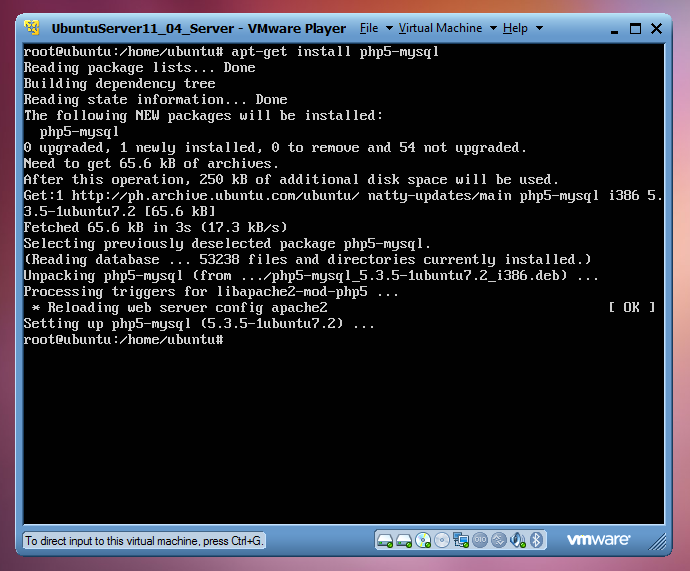
To get MySQL support in PHP, we can install the php5-mysql package.
apt-get install php5-mysql
This will install the php5-mysql package:
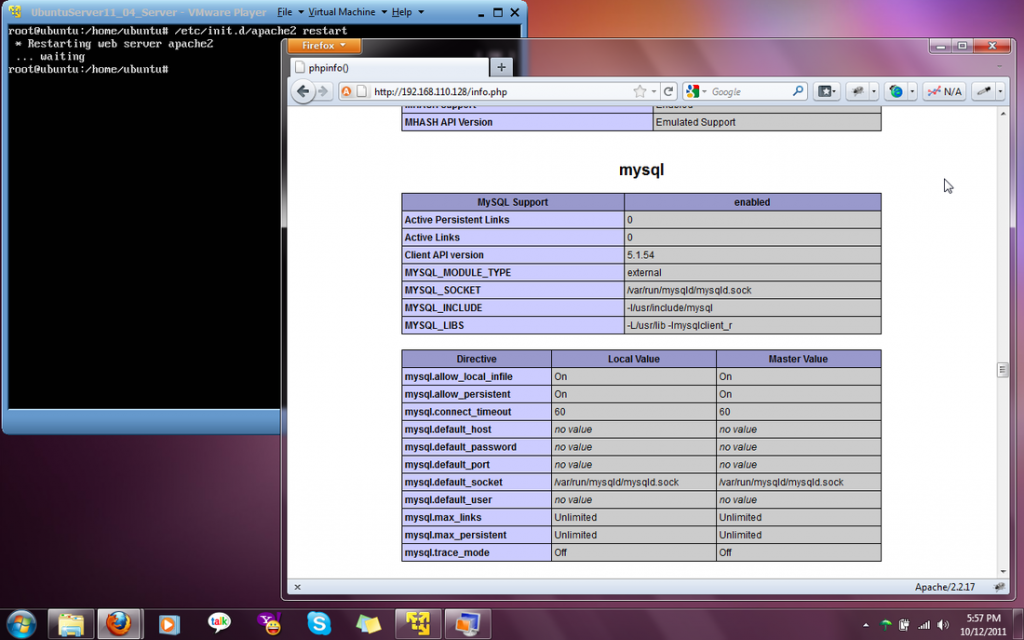
Now restart Apache2:
service apache2 restart
Now reload http://192.168.110.128/info.php in your browser and scroll down to the modules section again. You should now find lots of new modules there, including the MySQL module:
Client PC: Windows XP (Guest OS)
Client PC: Windows 7 (Host OS)
VII. phpMyAdmin
phpMyAdmin is a web interface through which you can manage your MySQL databases. It’s a good idea to install it:
apt-get install phpmyadmin
Then confirm the phpMyAdmin installation:
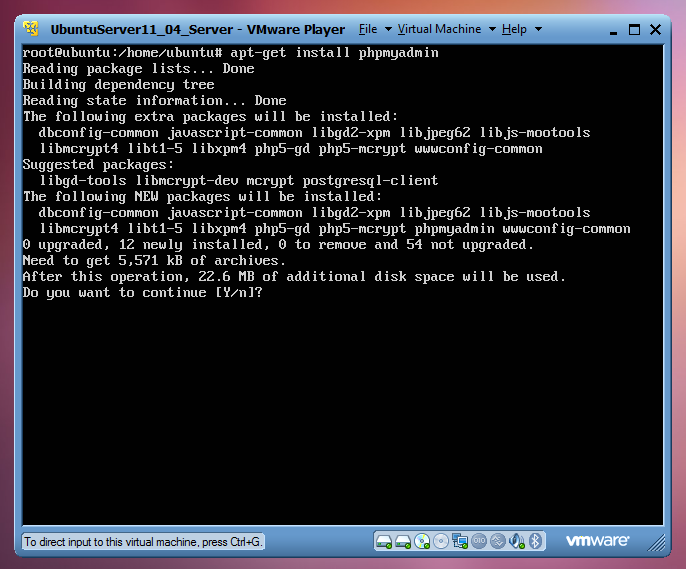
You will see the following questions:
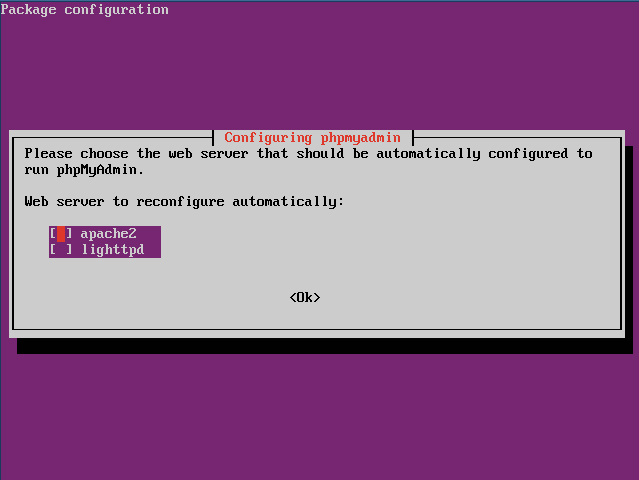
Web server to reconfigure automatically: <– apache2
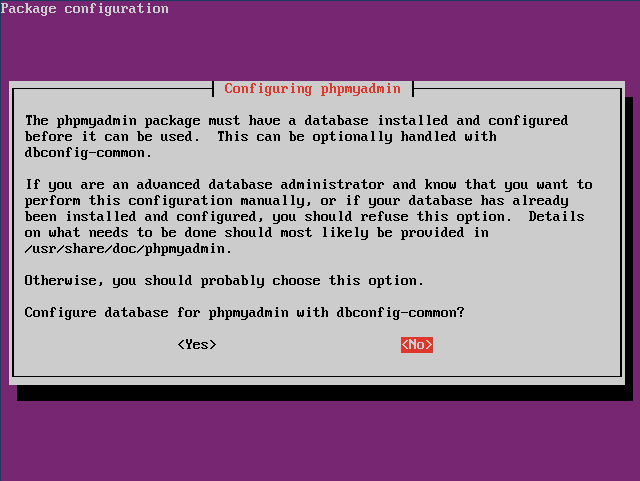
Configure database for phpmyadmin with dbconfig-common? <– No
phpmyadmin will be installed in /usr/share/. It may be better to create a link rather than moving the directory.
Create the phpmyadmin link inside /var/www:
ln -s /usr/share/phpmyadmin /var/www
UPDATE: No need for phpMyAdmin link for some Ubuntu Server versions as it install the link during phpMyAdmin installation (e.g: Ubuntu Server 12.04 and later).
Afterwards, you can access phpMyAdmin under http://192.168.110.128/phpmyadmin/:
If the login page appears, supply the password you created during MySQL installation. Username: root
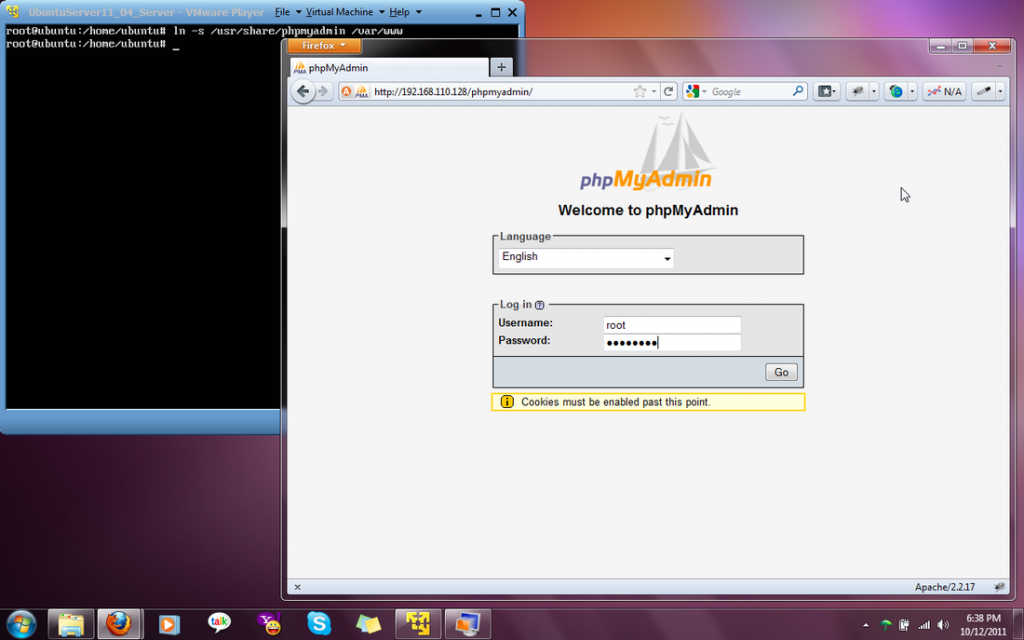
Client PC: Windows 7 (Host OS)
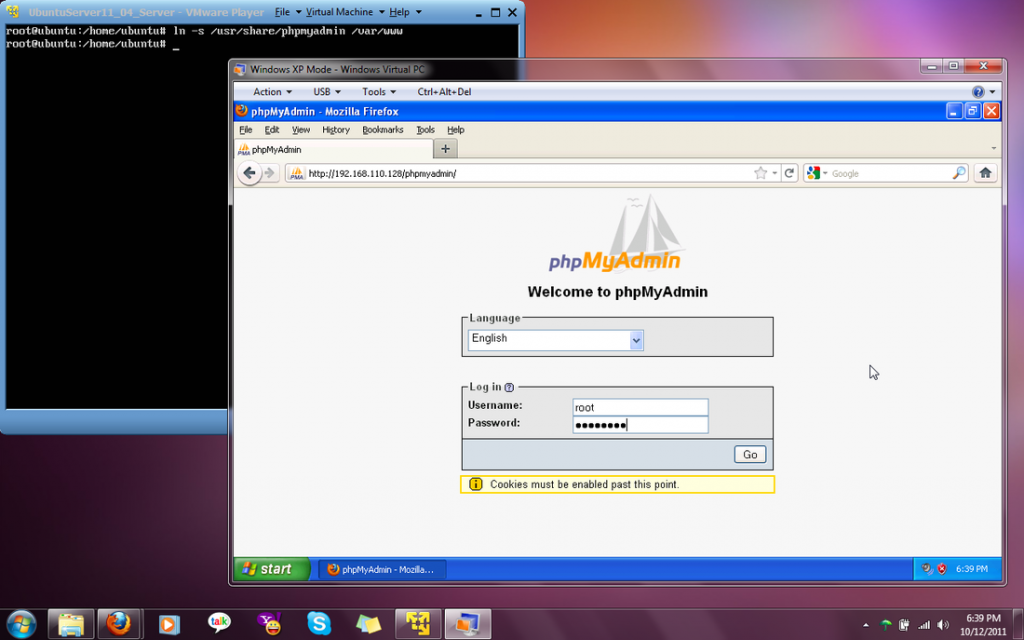
Client PC: Windows XP (Guest OS)
That’s all! Hope these might help.
Please feel free to comment if you have some thoughts. Enjoy!